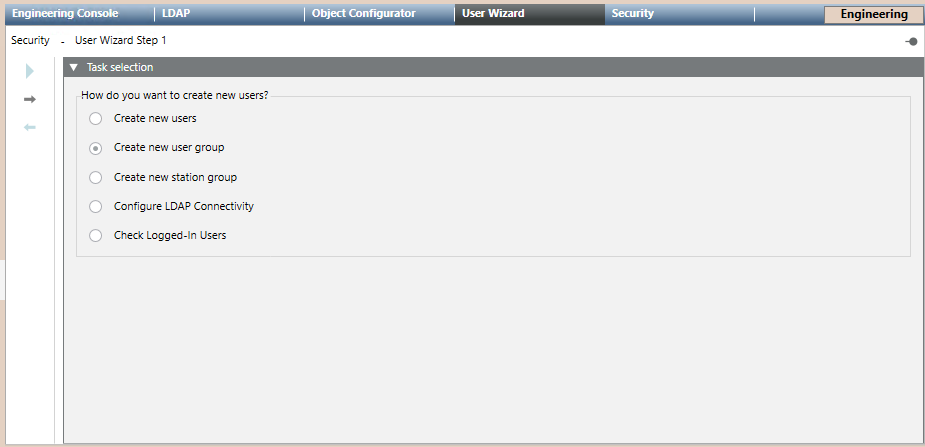
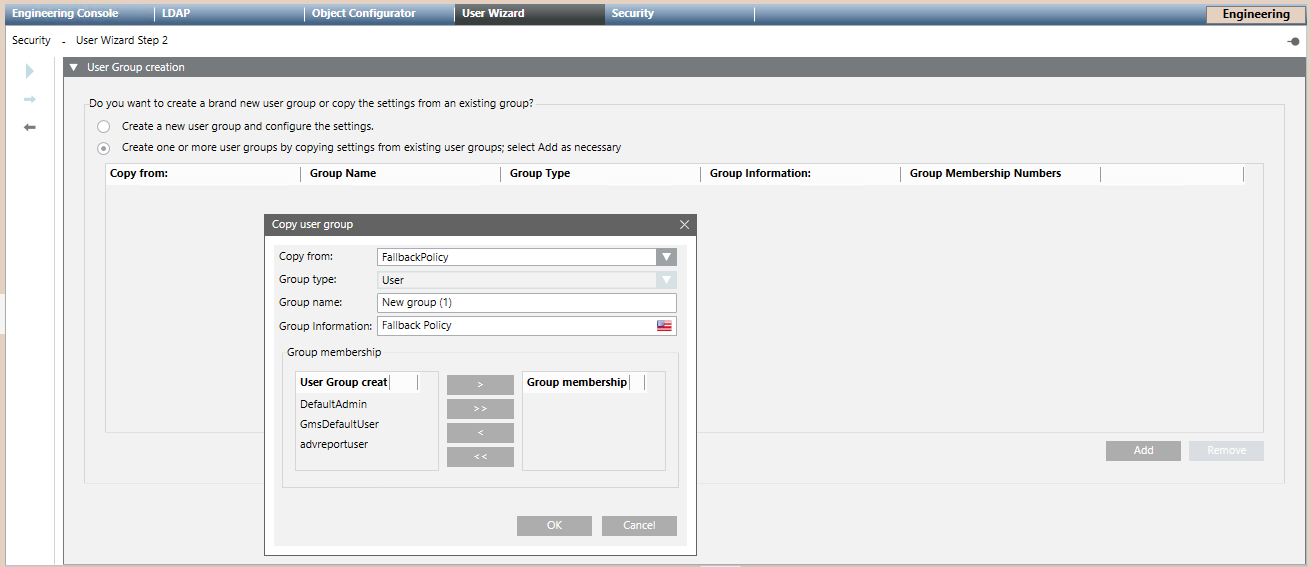
You are in the User Management Wizard step 2 – User Group creation.
Select Create one or more user groups by copying settings from existing ones.
Click Add.
The Copy user group dialog box opens.
In Copy from, select the user group you want to copy the settings from.
(Optional) Enter the Group name if you want to customize it.
Select the Configured users you want to associate to the new user group.
Select to add a single user or to add all the configured users to the new user group.
(Optional) In the Group membership column, select the configured user you want remove, then select. Select to remove all the users.
Click OK.
The previously configured user group is added to the table of user groups that will be created.
(Optional) Select Add and repeat all the steps for each additional user group you want create.
(Optional) Select a user of the table and select Remove to delete it. NOTE: You cannot edit a user from the table. If you need to correct any parameter, you have to remove it and create it again.
You are in the User Management Wizard step 3 – Summary Information.
Check the summary information. (Optional) If you want to modify any item, click Previous to go back to the previous page. After the required modifications, press Next to reach this final page again.
Click Start to create the user groups.
The new user groups are available in System Browser under Project > System Settings >Security.
 .
.
 to add a single user or
  to add all the configured users to the new user group.
 . Select
  to remove all the users.
 to go back to the previous page. After the required modifications, press Next
  to create the user groups.