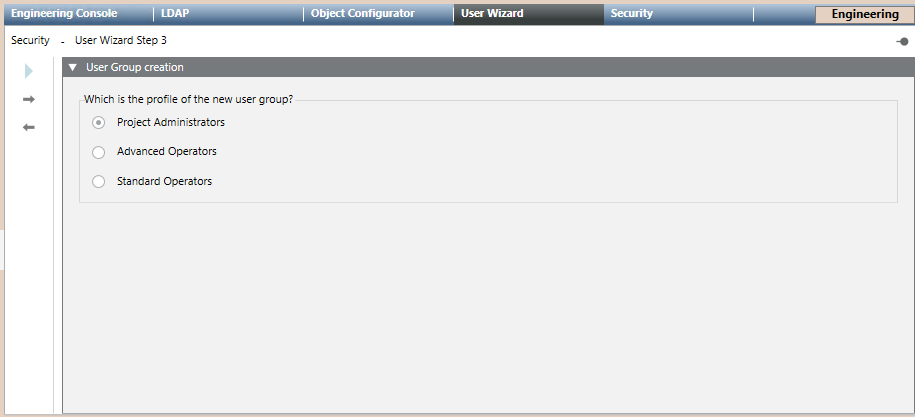
You are in the User Management Wizard step 3 – User Group creation.
Select the type of user group you want create. These user group profiles have preconfigured rights for events and applications; you can then change the default configuration using the Security tab. NOTE: You cannot select a user group profile if it already exists.
You are in the User Management Wizard step 5 – User Group creation.
Under Configure the scope for the new user group, you can configure the scope for the new group. Define the scope rights as:
Full local scope rights
Reduced local scope rights
Reduced pre-defined scope rights
(Optional) Select Add and repeat the configuration for each additional scope you want create.
(Optional) Select a scope of the table and select Remove to delete it. NOTE: You cannot edit a user from the table. If you need to correct any parameter, you have to remove it and create it again.
You are in the User Management Wizard step 7 – Summary Information.
Check the summary information. (Optional) If you want to modify any item, click to go back to the previous page. After the required modifications, use to reach this final page again.
Click Start to create the user group.
The new user group is available in System Browser under Project > System Settings >Security.
 .
.

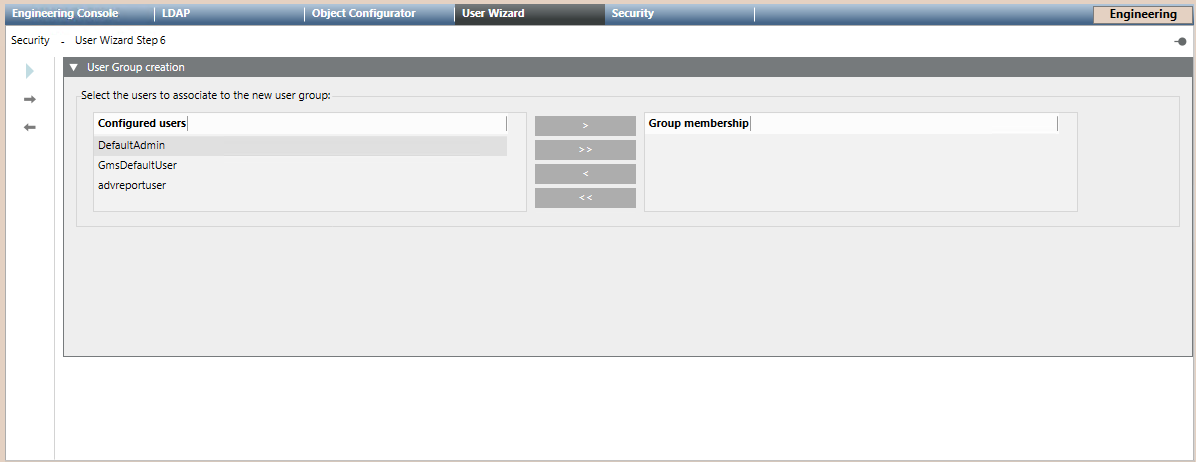
 to add a single user or
  to add all the configured users to the new user group.
 . Select
  to remove all the users.
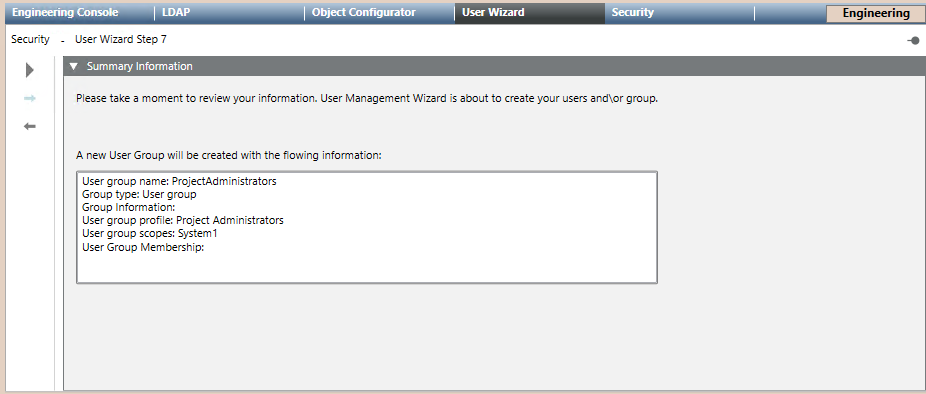
 to go back to the previous page. After the required modifications, use
  to create the user group.